Mastering the art of sous vide cooking can elevate your kitchen skills to a new level. With its precise temperature control, sous vide offers the perfect method for achieving tender and flavorful chicken thighs every time. Whether you’re a novice or a seasoned home cook, these 10 simple steps will guide you through the process of creating restaurant-quality chicken thighs right in your own kitchen. Each step is designed to ensure that your chicken is cooked to perfection, providing a juicy and delightful experience for your taste buds.
Select Quality Chicken Thighs
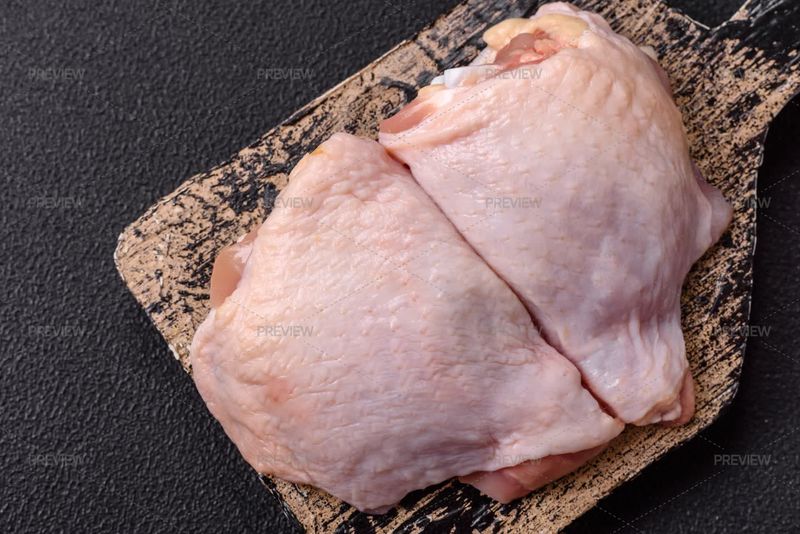
Choosing the right chicken thighs is the first step to culinary success. Opt for organic or free-range thighs to ensure quality and taste. These options are often more flavorful and healthier. Pay attention to the color and texture, looking for a pink hue and firm feel. Avoid any thighs that appear pale or slimy.
Proper selection not only enhances taste but also aligns with ethical consumption. Remember, the foundation of a great dish begins with its ingredients. A thoughtful approach at this stage sets the tone for a delicious meal.
Prepare Marinade Carefully
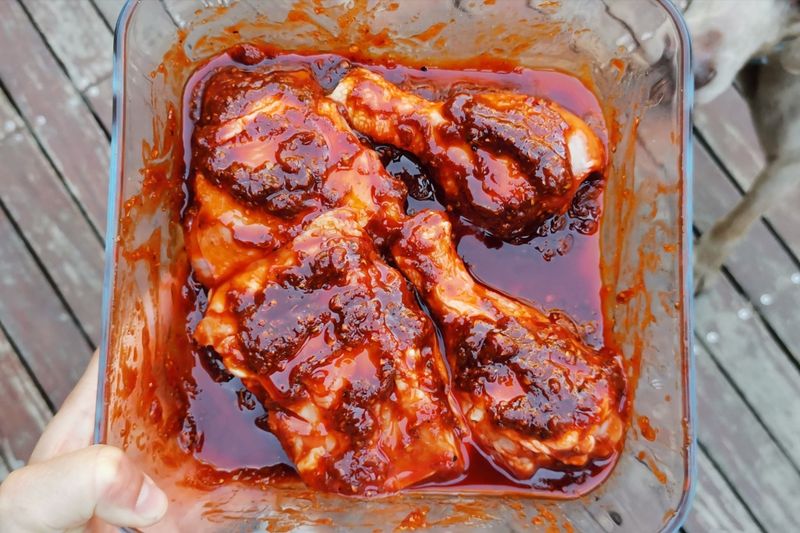
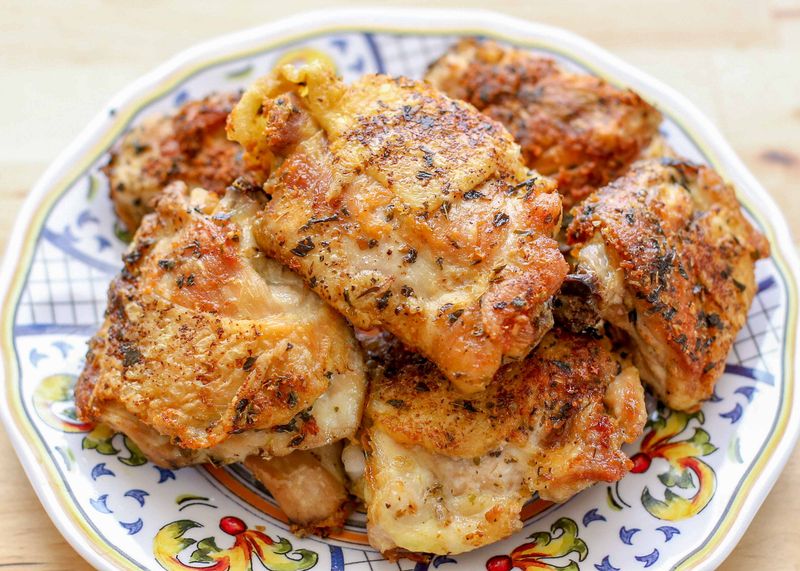
Creating a marinade that complements chicken thighs is an art. Start by selecting herbs and spices that suit your palate – rosemary, thyme, garlic, and lemon are classic choices. Mix these with olive oil and a touch of salt.
Marinating not only infuses flavors but also tenderizes the meat. Allow the chicken to soak for at least an hour, or overnight for a deeper taste.
Your marinade is a canvas for creativity. Experimenting with different ingredients can lead to delightful discoveries and enhance your cooking repertoire.
Set Precise Temperature
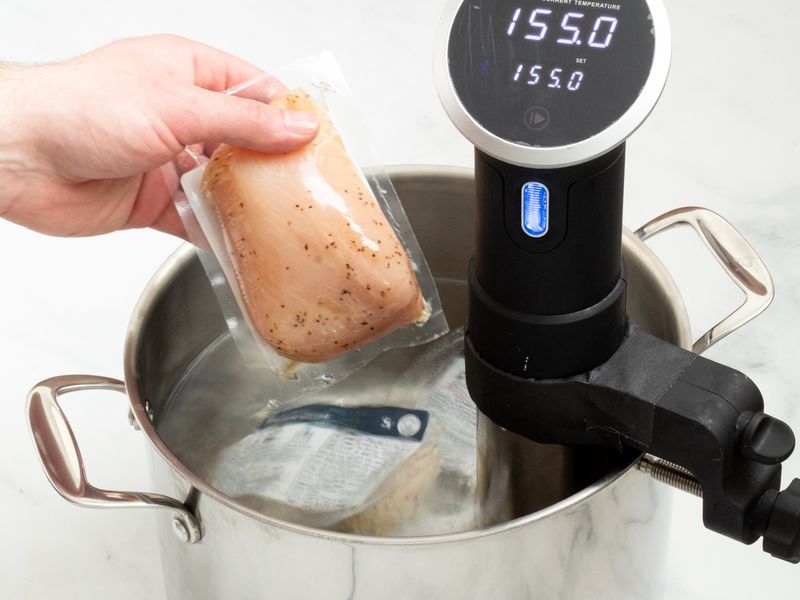
The essence of sous vide cooking lies in its precision. Set your sous vide machine to 165°F, the optimal temperature for chicken thighs. This ensures the meat is cooked thoroughly while retaining its juiciness.
Accuracy is crucial; even a slight variation can impact the texture. Familiarize yourself with the machine’s settings and double-check the temperature.
This step embodies the scientific approach of sous vide – cooking with precision for perfect results. Mastering this will give you confidence in your culinary adventures.
Seal Chicken Properly
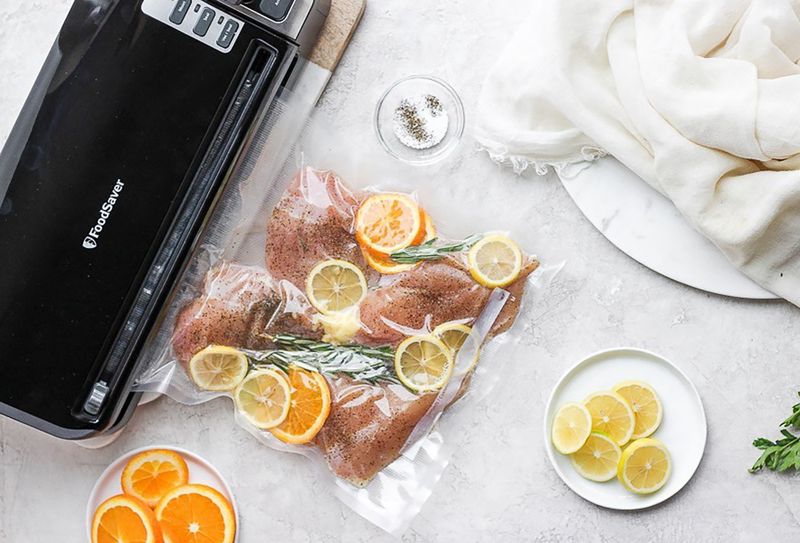
Sealing the chicken thighs correctly is pivotal in sous vide. Use a vacuum sealer to ensure no air is trapped. This method preserves the flavors and prevents any water from entering the bag.
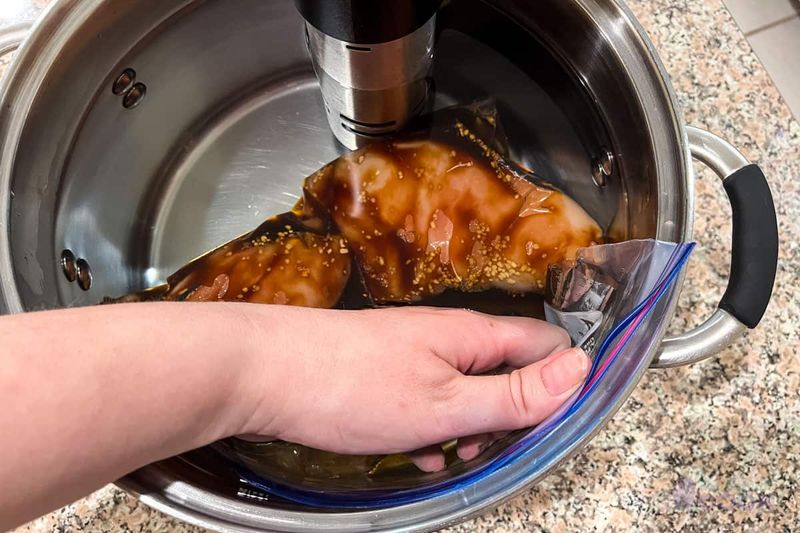
If a vacuum sealer isn’t available, use the water displacement method with a zip-lock bag.
Proper sealing is what makes sous vide unique, allowing the chicken to cook evenly. By ensuring a tight seal, you enhance the taste and texture, achieving restaurant-level quality at home. This technique is vital for sous vide success.
Submerge in Water Bath
With the chicken securely sealed, submerge it in the preheated water bath. The consistent temperature will cook the chicken thoroughly without losing moisture.
Ensure the bag is fully submerged and not floating, as this can hinder even cooking.
The beauty of sous vide is its hands-off approach. Once submerged, you can focus on other tasks while the sous vide works its magic. This step highlights the convenience and precision that define sous vide cooking, transforming ordinary meals into extraordinary experiences.
Monitor Cooking Time
Time management is key in sous vide. Set a timer for 1.5 to 4 hours, depending on your desired tenderness. Longer cooking can enhance the texture, breaking down collagen for a melt-in-your-mouth experience.
While sous vide is forgiving, timing can still affect the final outcome. Monitor the process to ensure perfection.
This step teaches patience and precision, core to mastering sous vide. It allows you to tailor the dish to your preference, offering flexibility while maintaining quality results.
Finish with a Sear
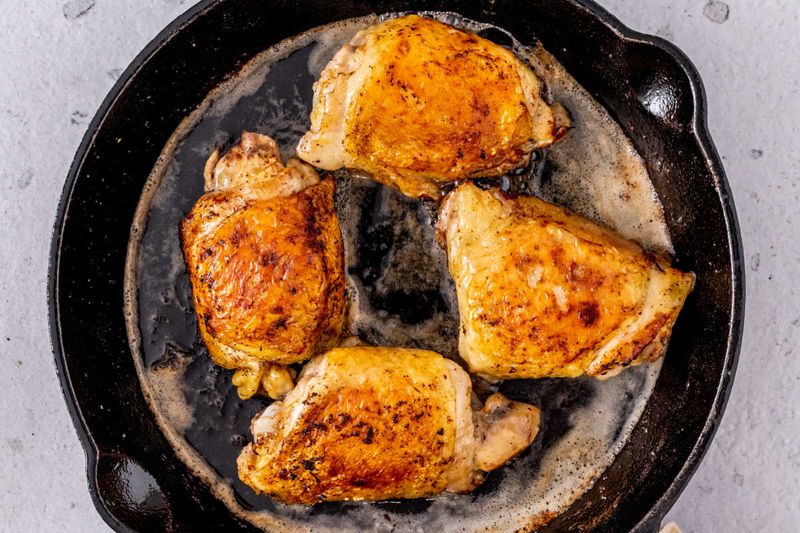
After cooking sous vide, a quick sear adds texture and color. Heat a skillet with oil until smoking, then sear the chicken thighs skin-side down for 1-2 minutes.
This step enhances the dish visually and texturally, providing a delightful contrast to the tender interior.
The searing process is a sensory experience, with sizzling sounds and mouthwatering aromas. It transforms the meal, adding a professional touch that impresses with both flavor and presentation.
Season to Taste
Once seared, season the chicken to your liking. A sprinkle of flaky sea salt and freshly cracked black pepper elevates the flavors.
Taste and adjust the seasoning, ensuring it complements the marinade and sear. Seasoning is subjective, allowing you to tailor it to your preferences.
This step encourages culinary creativity, guiding you to refine the dish while respecting individual tastes. It’s the final touch that brings everything together, enhancing the depth and complexity of flavors.
Serve and Enjoy
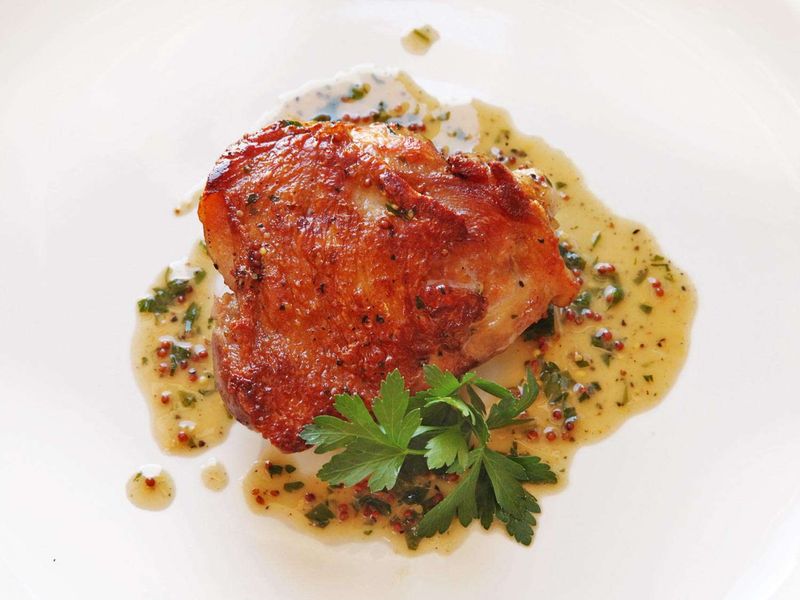
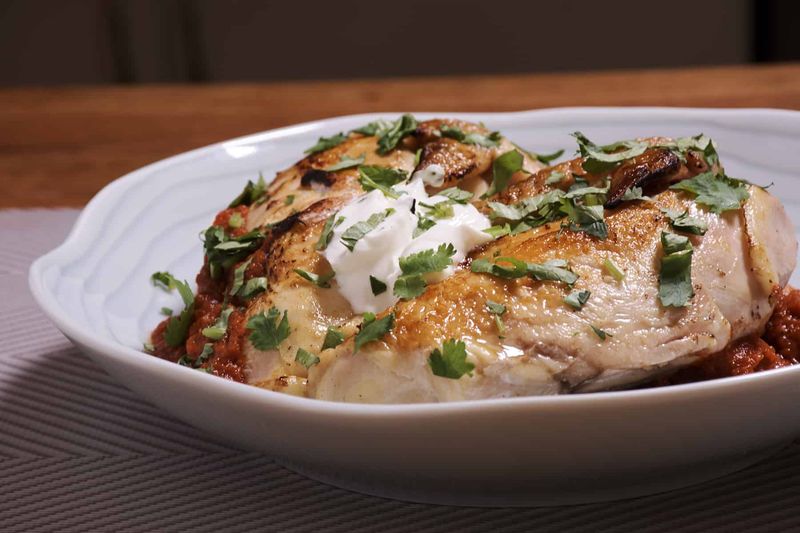
Presentation is key when serving sous vide chicken thighs. Arrange them elegantly on a plate, garnishing with fresh herbs such as parsley or thyme.
The appeal lies in the visual and aromatic harmony, inviting guests to indulge.
Serving is the culmination of your efforts, showcasing your skills and attention to detail. It’s about creating an inviting experience, where each bite reflects your culinary journey, leaving a memorable impression.
Store Leftovers Properly

Storing leftovers correctly preserves flavor and safety. Place the chicken in airtight containers, labeling with dates to track freshness.
Refrigerate promptly, maintaining quality for up to four days. Proper storage extends the enjoyment of your meal.
This step emphasizes sustainability and mindfulness in cooking. It allows you to savor your creation beyond the initial serving, reducing waste and appreciating every bite. Proper storage is an essential practice for home cooks, ensuring food safety and extending culinary satisfaction.
Leave a comment