Lobster shelling can be a messy affair, leaving your hands sticky and the table in chaos. However, with the right techniques, you can minimize the mess and enjoy your lobster feast with ease. Here are 12 tricks to make lobster shelling less messy and more enjoyable.
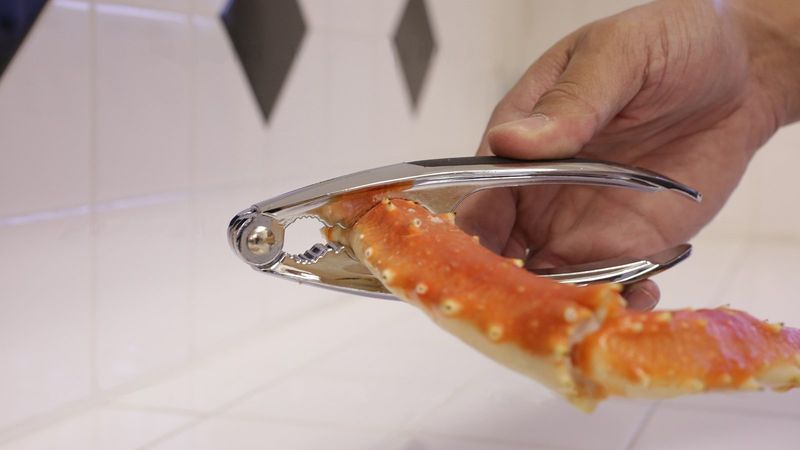
Use a Lobster Cracker
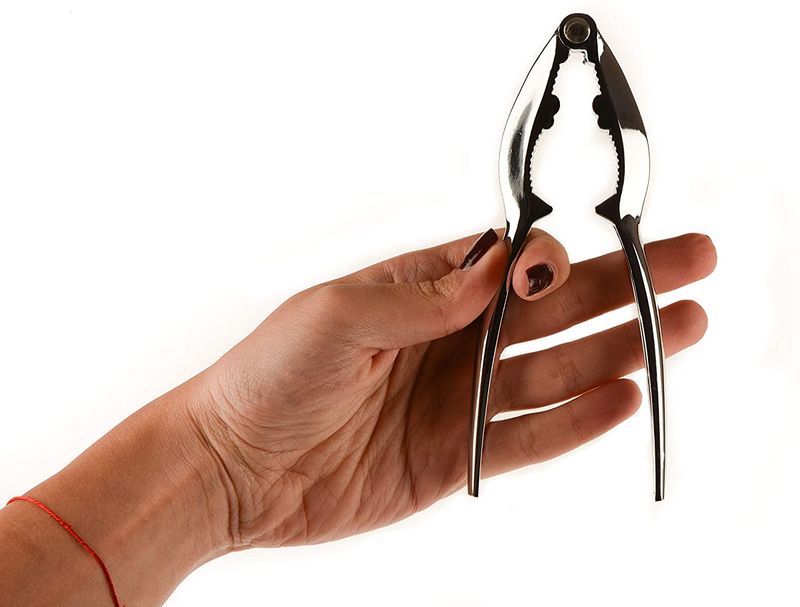
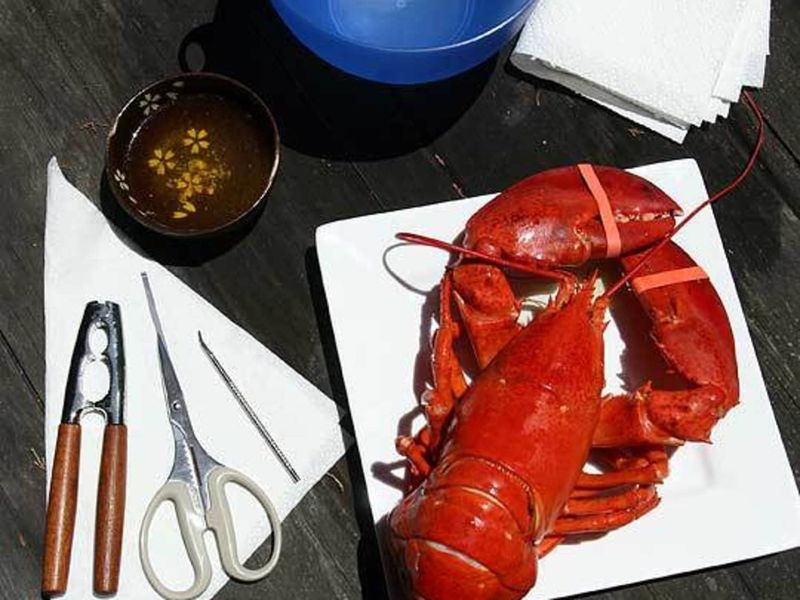
The lobster cracker is your best friend when it comes to breaking open those tough shells. Its sturdy design helps you apply just the right amount of pressure without splattering juice everywhere.
Start by holding the lobster firmly and position the cracker over the claw or knuckle. Gently squeeze until you hear a crack, then carefully peel away the shell.
This simple tool keeps your hands clean and makes the process much smoother. For those who love seafood, owning a lobster cracker is a game-changer.
Chill the Lobster First

Chilling the lobster before shelling can make the job cleaner and more straightforward. By placing it in ice or the fridge for a few minutes, the meat becomes firmer and less likely to fall apart.
The cool temperature also reduces the stickiness, allowing you to handle the lobster with ease. This method is particularly useful for larger lobsters, where the meat can be more challenging to manage.
Try this technique, and you’ll find the lobster meat slides out more effortlessly, leaving you with beautifully intact pieces.
Use Kitchen Shears
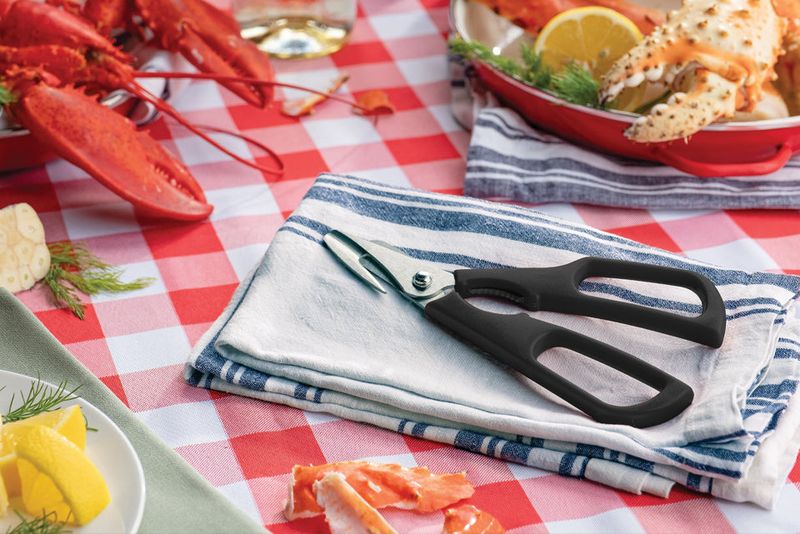
Kitchen shears are a versatile tool in your lobster shelling arsenal. Their sharp blades easily slice through the shell, allowing for precision cuts without a mess.
Start by cutting along the lobster’s underside, from tail to head. This method gives you a clean opening without splattering juices.
The shears’ ergonomic design ensures comfort, making them perfect for long shelling sessions. With kitchen shears, you can focus on enjoying the meal rather than cleaning up after.
Wear Disposable Gloves

Disposable gloves are a practical solution to keep your hands clean during shelling. They create a barrier between your skin and the sticky lobster juices, allowing for a more pleasant experience.
Slip on a pair before you start, and you’ll notice how much easier it is to handle the lobster without slipperiness. Plus, removing the gloves afterward leaves your hands fresh and odor-free.
This simple precaution can make the entire process more hygienic and efficient, especially if you’re serving a crowd.
Utilize a Cutting Board
A sturdy cutting board provides a stable surface for shelling lobsters, reducing mess and enhancing precision. Its solid construction holds the lobster steady, minimizing slips and spills.
Place the board on a non-slip mat to keep it in place. This setup allows you to crack and cut with confidence, knowing everything is contained.
A cutting board is more than just a surface; it’s a tool that transforms the shelling process into a clean, efficient endeavor.
Precision with a Paring Knife
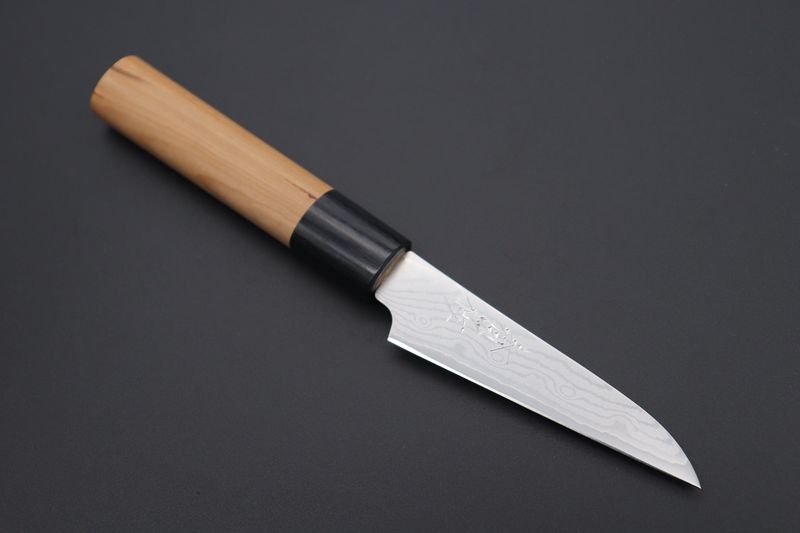
A paring knife offers unparalleled accuracy when shelling lobsters. Its sharp, pointed blade can easily navigate the lobster’s curves, making it ideal for intricate cuts.
Begin by inserting the knife under the shell, carefully working your way around the edges. This technique helps you separate the shell cleanly, preserving the meat’s delicate texture.
With a paring knife, you can elevate your shelling skills, ensuring each piece of lobster is perfect for presentation.
Twist Instead of Pull
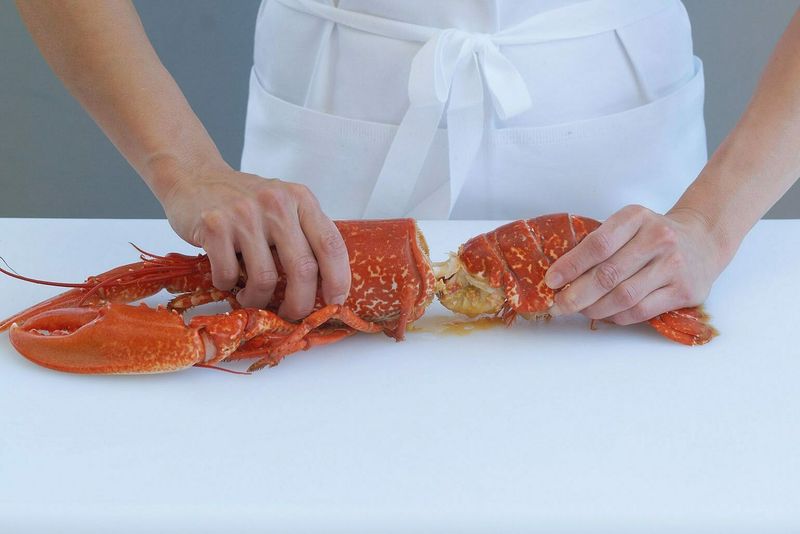
Twisting the lobster’s joints instead of pulling can yield cleaner results. This technique minimizes the risk of tearing the meat, keeping it intact and making it more visually appealing.
Grip the lobster firmly and twist the claw or tail until it separates from the body. The twist motion reduces splatter and keeps the shelling process tidy.
By adopting this approach, you can enjoy a neater dining experience, showcasing the lobster’s natural beauty and savoring every bite.
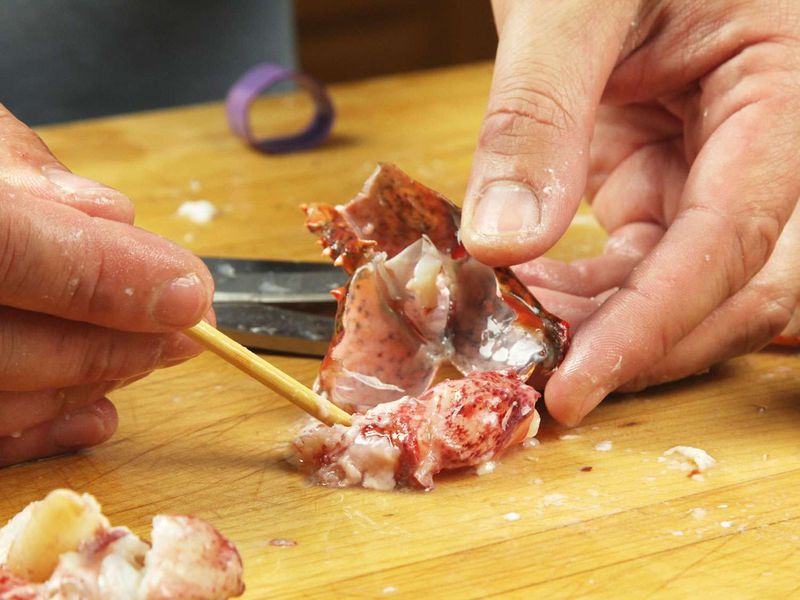
Use a Seafood Fork
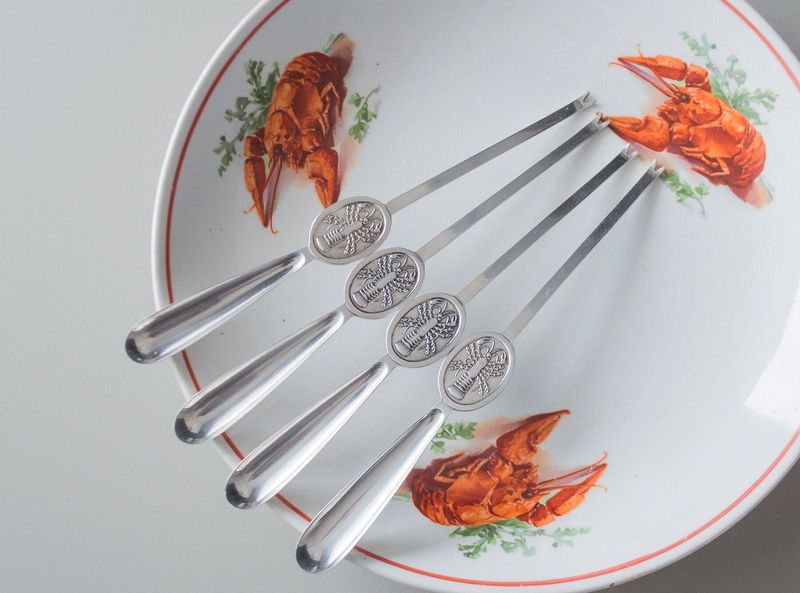
The seafood fork is a small yet mighty tool for lobster aficionados. Its slender design allows you to reach deep into the shell, extracting every morsel of meat effortlessly.
Slide the fork into the shell and gently pull. The meat comes out intact, without the mess of torn fragments. This tool ensures you enjoy every bit of the lobster.
Perfect for both novices and seasoned shellers, the seafood fork makes the process efficient and enjoyable, keeping your dining experience delightful.
Employ a Spoon for the Tail
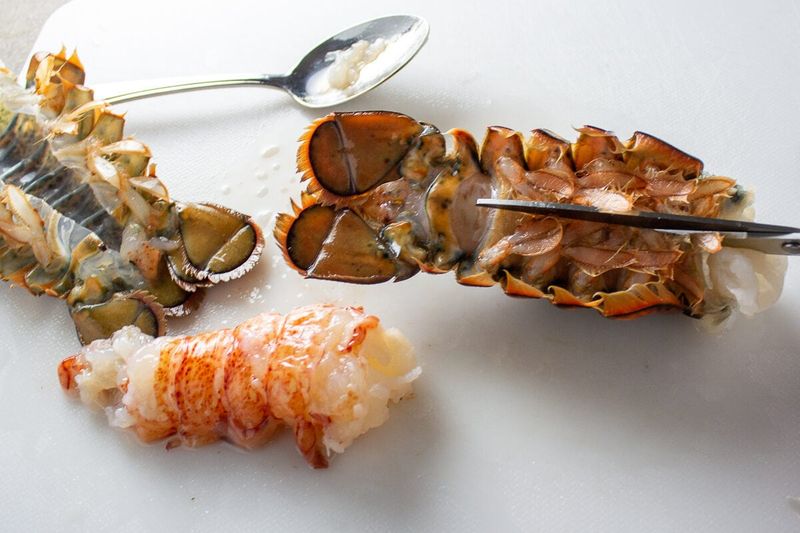
A simple spoon can be surprisingly effective for removing lobster tail meat. After cracking the shell, use the spoon’s curved edge to scoop out the meat.
This method ensures a clean extraction, with minimal tearing and mess. The spoon’s smooth surface glides along the shell, preserving the meat’s natural shape.
Ideal for those who appreciate finesse in their seafood preparation, using a spoon adds a touch of elegance to your lobster dining experience.
Keep a Bowl for Shells

Having a designated bowl for shells helps keep your dining area tidy. As you shell the lobster, discard the shells into the bowl, keeping your plate free for the succulent meat.
This simple practice prevents clutter and allows you to focus on enjoying the meal. Plus, it makes cleanup a breeze, as the shells are neatly contained.
With a bowl for shells, you can maintain an orderly dining setup, enhancing your overall lobster enjoyment.
Try a Nutcracker for Smaller Pieces
A nutcracker is perfect for tackling smaller lobster parts that might escape a larger lobster cracker. Its compact size allows for precise control.
Use it to crack knuckles or other delicate sections, ensuring you reach every piece of meat without a mess. The nutcracker’s design lets you apply just enough pressure to break the shell without damaging the meat.
This tool is a handy addition to your shelling kit, offering versatility and control for a cleaner dining experience.
Use a Napkin to Hold the Lobster
Holding the lobster with a napkin provides extra grip and reduces slipperiness. This makes it easier to manage the lobster as you work through the shell.
The napkin absorbs excess moisture, preventing your hands from getting sticky. It also offers comfort and makes the handling process more hygienic.
Incorporating a napkin into your shelling routine adds an element of control, allowing you to focus on the delicious task at hand without the mess.
Leave a comment