Making the perfect cannoli involves mastering both the crispness of the shell and the creaminess of the filling. These ten tips will guide you through the delicate art of crafting this iconic Italian dessert, ensuring you achieve the right texture, flavor, and presentation every time.
Choosing the Right Flour
Selecting the proper flour can define your cannoli’s texture. Fine, soft wheat flour is ideal for achieving that perfect crispy shell. In Northern regions of Italy, chefs often use a blend of all-purpose and cake flour, which provides balance, enhancing the pastry’s crispness without sacrificing tenderness. Begin by measuring your ingredients precisely. Remember, too much flour can make your shells dense and tough.
A fun fact: some Sicilian bakers use a touch of semolina for added flavor and texture. This small addition can add an authentic touch, giving your cannoli a unique twist.
The Secret of Vinegar
Vinegar isn’t just for salads; it’s a secret weapon in pastry making. By incorporating a small amount of vinegar into your dough, you can enhance the cannoli shell’s crispiness. The acid in vinegar helps to break down gluten strands, preventing them from becoming too elastic. This results in a tender, flaky crust.
Be mindful of the quantity—just a teaspoon can work wonders. Despite its simplicity, this technique is a hallmark of Italian baking. Embrace this tip for shells that are both crisp and robust.
Optimal Dough Resting
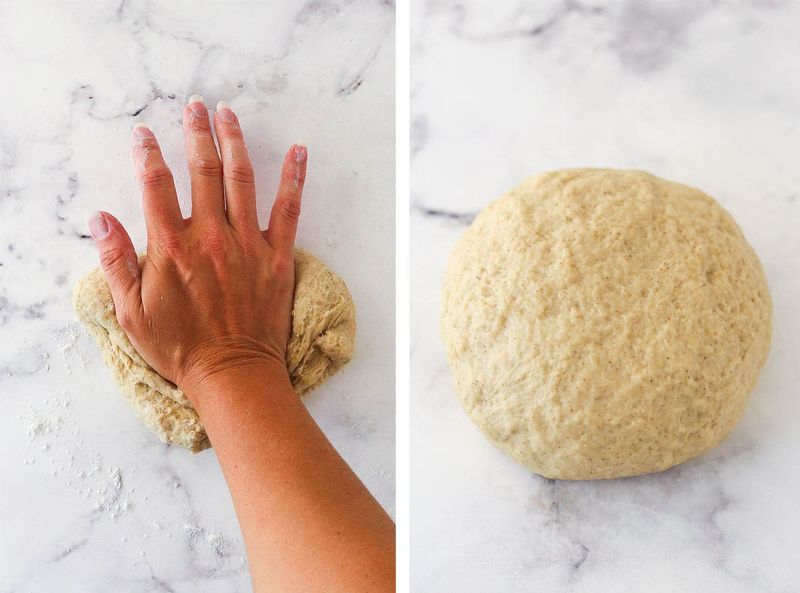
Resting dough is a crucial yet underestimated step in crafting cannoli. Allowing your dough to rest for at least an hour helps relax the gluten. This step avoids chewy shells and ensures crispiness. During this period, flavors meld, creating a more cohesive taste. Imagine the anticipation as you wait, knowing this patience will pay off.
Like a fine wine, dough improves with time. Some chefs even suggest overnight resting for deeper flavors. Give your dough time, and it will reward you with perfect shells every time.
Mastering the Roll
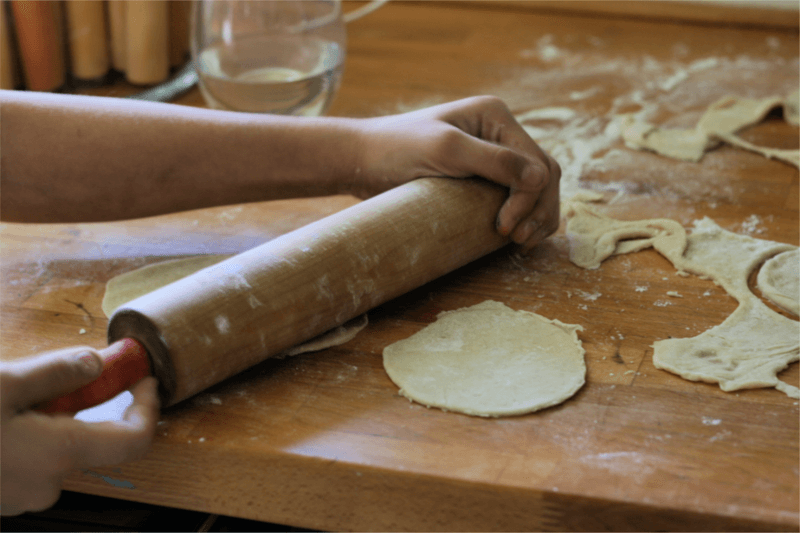
Rolling out cannoli dough can be an art form. Achieving the right thickness is key; too thin and the shells may crack, too thick and they become chewy. Aim for about 2-3 millimeters—this ensures a perfect balance.
Use a well-floured surface to prevent sticking, and rotate the dough as you roll to maintain an even shape. Some Italian grandmas swear by rolling pins passed down through generations, each with its own story. Remember, practice makes perfect, and your efforts will translate into beautifully crisp shells.
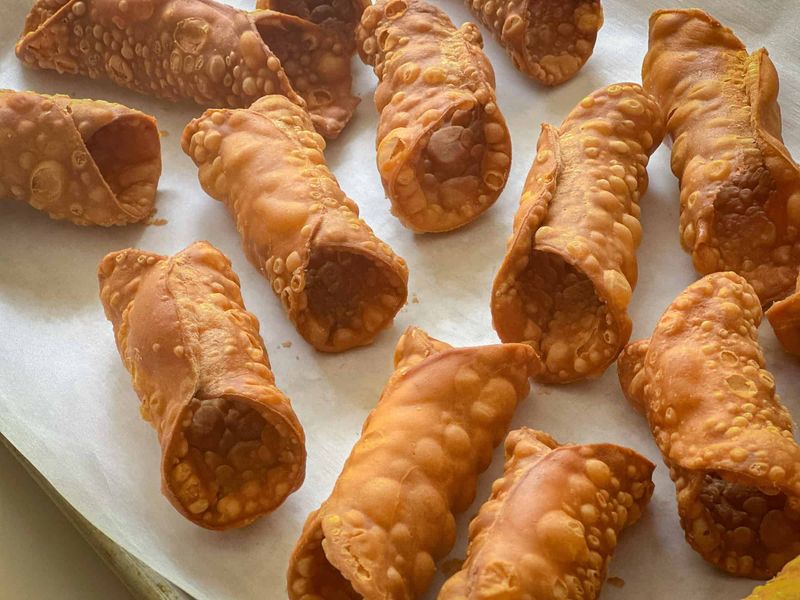
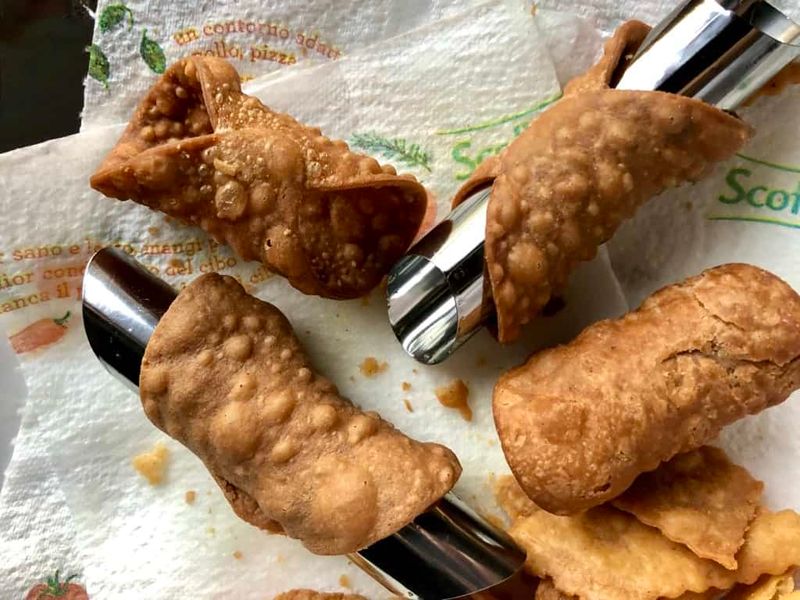
Frying to Perfection
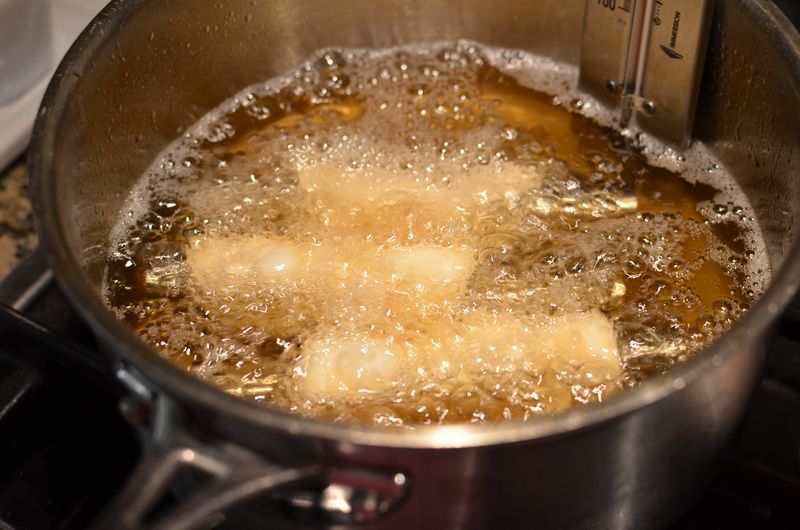
Frying is where the magic happens. The right temperature—about 350°F (175°C)—ensures that your shells crisp up beautifully without burning. Use a thermometer for precision, as too hot will leave the insides raw, and too cold will make them greasy. Fry in small batches to maintain oil temperature.
Listen to the sizzle; it tells you when the shells are cooking evenly. The golden hue is your cue that they’re ready. This tactile process can be mesmerizing, a sensory symphony leading to delicious results.
Crafting the Creamy Filling
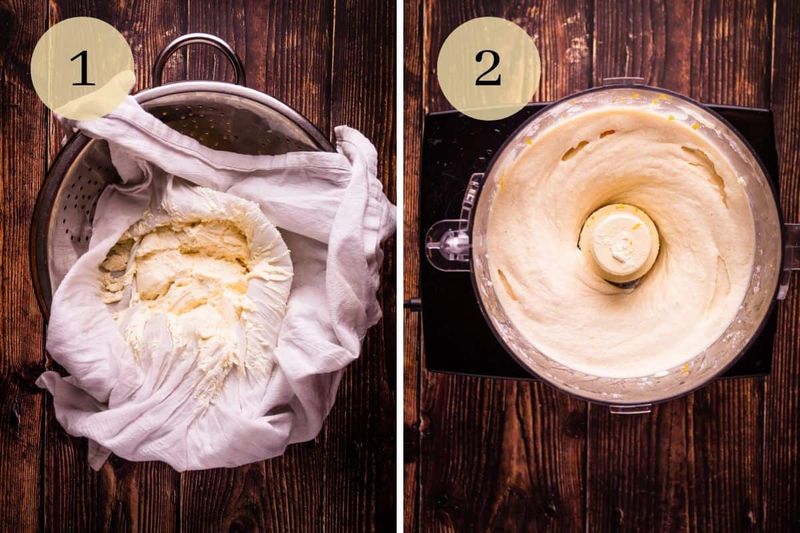
The filling is the heart of the cannoli, and ricotta is its soul. Use fresh, high-quality ricotta for a smooth texture. Drain excess moisture to avoid soggy shells. Sweeten with powdered sugar and flavor with vanilla or citrus zest for that authentic taste.
Beat until creamy and light, introducing air for fluffiness. Some add mascarpone for richness, while others prefer a touch of chocolate chips or candied fruit. This diversity in flavors reflects the rich cultural heritage of Sicily, where each bite tells a story.
Timing the Filling
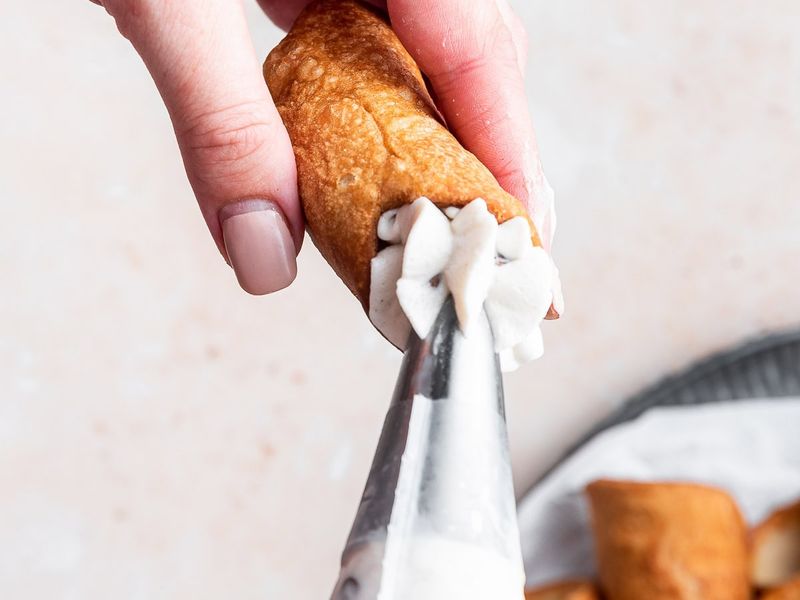
Filling your cannoli is an art of timing. Add the creamy filling just before serving to maintain shell crispness. Premature filling leads to soggy disappointment, robbing you of the desired texture contrast.
Use a piping bag for precision, ensuring an even distribution of filling. Watch as the shells cradle the creamy goodness, ready to delight your taste buds. This technique requires patience and careful attention but rewards with the perfect marriage of textures and flavors, making each bite a moment to savor.
Experimenting with Flavors

Cannoli offers a canvas for creative flavor exploration. While traditional ricotta filling is classic, adding elements like chocolate chips, pistachios, or citrus zest can elevate your creation. Experimentation allows you to craft a unique signature taste.
Each addition brings a new dimension; pistachios add nuttiness, while citrus offers a refreshing twist. This exploration mirrors the diverse traditions of Italy, where each region infuses its own local flair. Let your imagination run wild, transforming each bite into a delightful surprise.
Presentation Matters
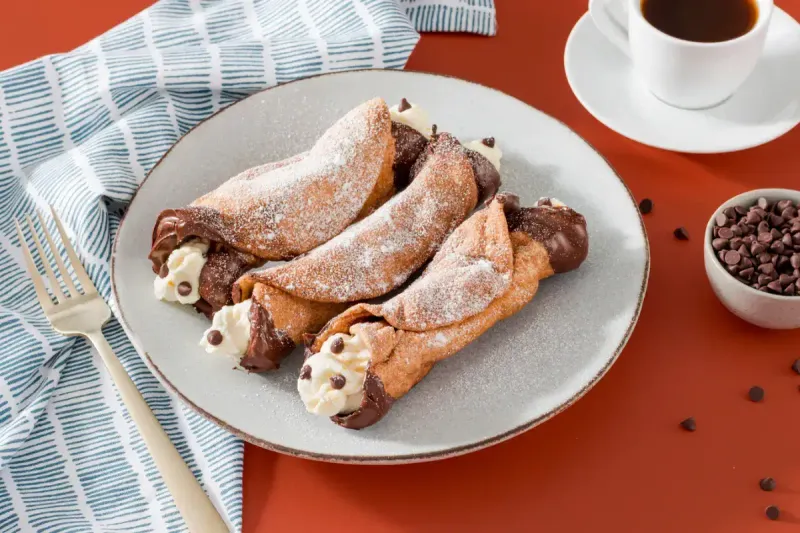
Presentation is the final touch. Arrange your cannoli artfully on a platter, dusting them with powdered sugar for elegance. Consider garnishing with fresh fruits like cherries or orange slices for added color and flavor. Each element should complement the next, creating a visually appealing ensemble.
Remember, we eat with our eyes first, and a well-presented dish enhances the dining experience. This attention to detail can impress guests and elevate your dessert from simple to spectacular, making every gathering memorable.
Storing Leftovers
Even after the feast, storing cannoli properly ensures future enjoyment. Separate shells and filling to maintain texture. Keep shells in an airtight container to preserve crunch, and refrigerate filling to keep it fresh.
Labeling containers with dates helps manage freshness, a simple yet effective practice. Proper storage extends the life of your creations, allowing for indulgence at a later time without sacrificing quality. Embrace this practical tip, ensuring that your hard work continues to delight beyond the initial serving.
Leave a comment